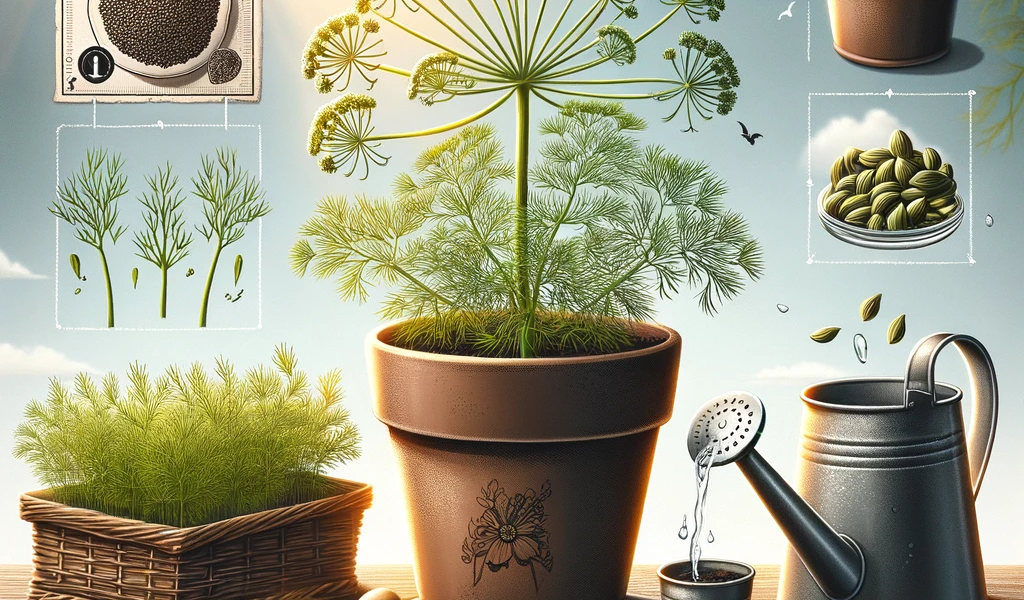
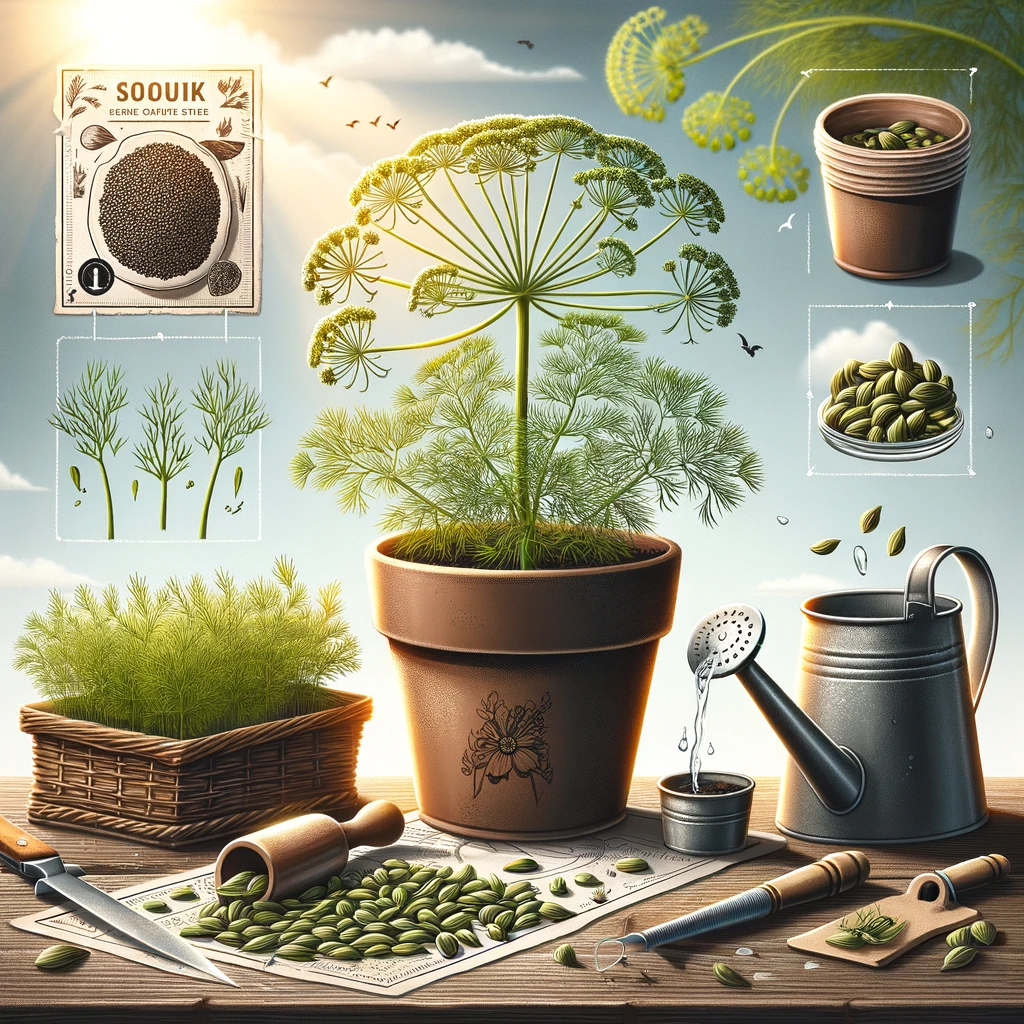
Dill, with its feathery leaves and distinctive aroma, is a delightful herb that can easily be grown in pots. It is particularly loved by chefs and gardeners alike for its versatility in the kitchen. Growing dill from seed can be accelerated using a secret method, ensuring a quicker harvest. Here’s how to do it.

1. Choosing the Right Pot:
Start with a pot that is at least 8 inches deep and has good drainage. Dill roots grow deep, so a deep pot is essential for healthy growth.
2. Selecting Dill Seeds:
Purchase high-quality dill seeds from a reputable supplier. There are several varieties of dill, so choose one that suits your culinary preferences.
3. The Secret Method – Pre-Soaking Seeds:
Here’s the secret to speeding up the germination process: pre-soak the dill seeds. Soak the seeds in warm water for 24 hours before planting. This softens the seed coats and kick-starts the germination process.
4. Preparing the Soil:
Fill your pot with a high-quality potting mix that is light and drains well. Dill does not require highly fertile soil, but adding some compost can help boost growth.
5. Sowing the Seeds:
After pre-soaking, sow the seeds directly into the pot. Scatter the seeds on the soil surface and cover them lightly with a thin layer of soil. Dill seeds need some light to germinate, so don’t bury them too deep.
6. Watering:
Water the seeds gently to moisten the soil. Keep the soil consistently moist but not waterlogged. Overwatering can cause the seeds to rot.

7. Placement and Sunlight:
Place the pot in a location where it will receive at least 6-8 hours of sunlight daily. Dill loves sunlight and grows best in full sun.
8. Germination:
Watch for sprouts in about 7-10 days. The pre-soaking method significantly reduces the germination time.
9. Thinning Seedlings:
Once the seedlings have grown a few inches tall, thin them out, leaving the strongest plants. Space the dill plants about 4-6 inches apart to allow for ample growth.
10. Ongoing Care:
- Continue to water the dill regularly, letting the soil dry out slightly between waterings.
- Dill generally does not need additional fertilization, especially if you added compost to the soil.
11. Harvesting:
You can start harvesting dill leaves as soon as they are large enough to use. Regular harvesting encourages more growth. Cut the leaves close to the stem.
12. Potential Pests and Problems:
Keep an eye out for aphids and other pests. Use an organic insecticide if necessary. Dill can attract beneficial insects as well, such as ladybugs.
Growing dill in pots using the pre-soaking method is a simple and effective way to enjoy this aromatic herb in a shorter time. This approach not only speeds up germination but also ensures healthy, lush growth, perfect for adding a fresh flavor to your dishes.